As I’ve been working through my prayer journal app, one thing I’ve been working on is streamlining my internal processing when it comes to watching my code builds and other things. To do so, I’ve started using Slack, a great (and free) communications tool that has tons of hooks for various platforms. One of the things I wanted was to track the build status of my code deployments from BitBucket to AppHarbor. Sadly there aren’t any “predone” recipes out there. However, thanks to some details from a StackOverflow question, this is a lot easier than it seems.
We can get from AppHarbor to Slack thanks to a great online service called Zapier. If you’re familiar with IFTT (If This, Then That), Zapier is a similar service. It allows you to connect various applications and services together in ways previously unavailable, thanks to wide availability of APIs that are out there. We’ll assume you already have an AppHarbor application in place and running, as well as a Slack instance setup. I created a channel in Slack called “builds” that I want all of my build messages to go to. Here’s what you do next.
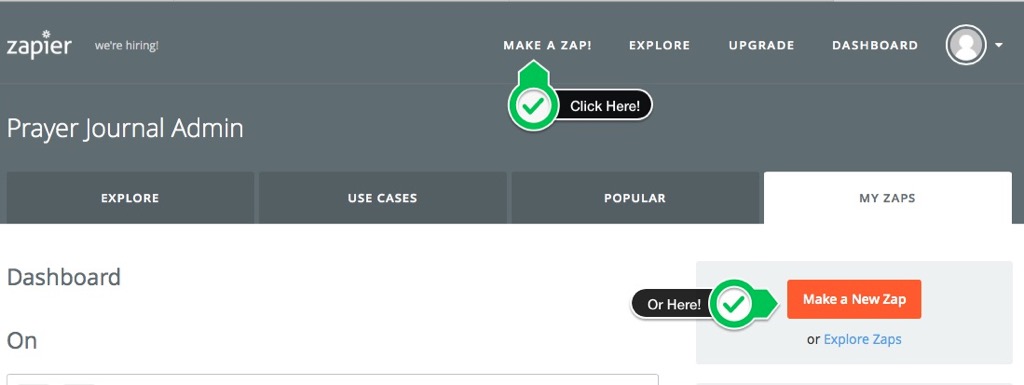
Start a New Zap
The first thing to do is to log in to Zapier and start a new Zap. Click the “Make a Zap!” link at the top of the page or the button on the right in your dashboard.
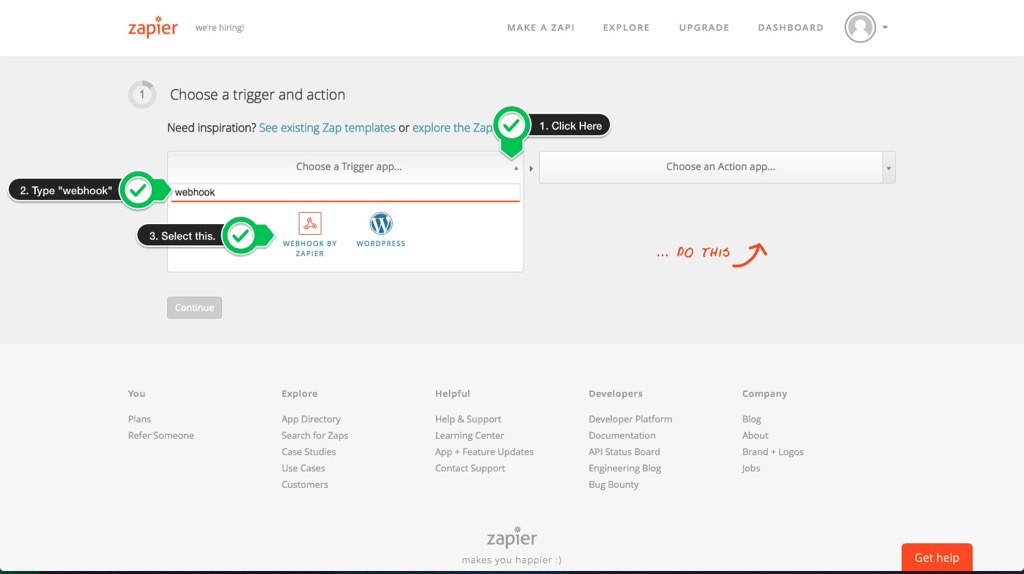
Setup Triggers/Actions for the Zap
AppHarbor has the ability to publish build status messages to wherever you want through the use of “Service Hooks.” These are simple HTTP POST requests that have the information we need. Fortunately, Zapier has the ability to listen to these items through their own “Web Hooks”. In the “Choose a Trigger” dropdown list use the search feature to type in “WebHook” and select the “WebHook by Zapier” option.
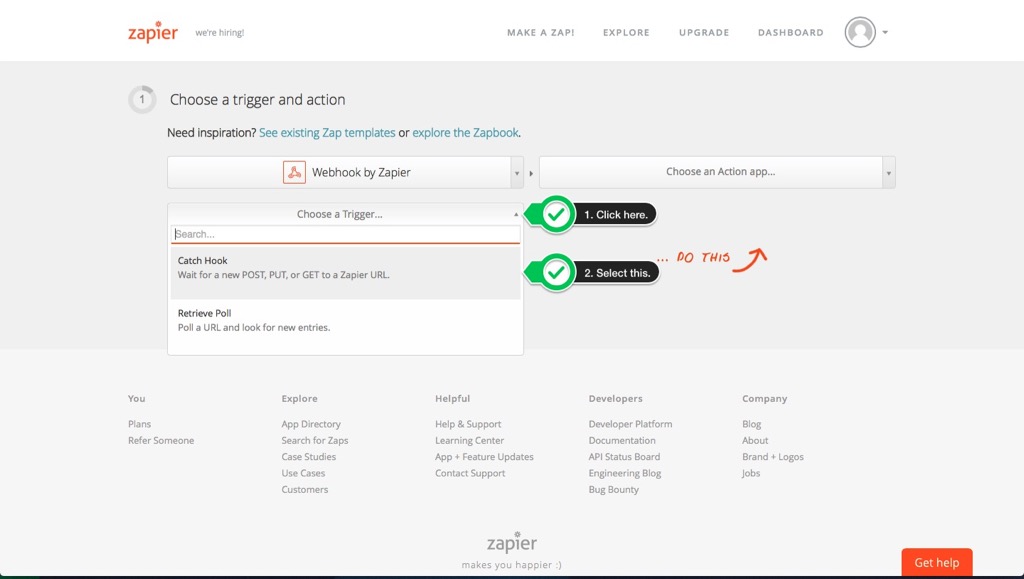
Once selected, you’ll see a “Choose Trigger…” option. Click that and choose the “Catch Hook” option.
To complete the process, we need to select the “Slack” option in the “Choose an Action app…” option and use the “Send new Message” action. Once those are selected, we can click the “Continue” button in Zapier.
Add Service Hook to AppHarbor
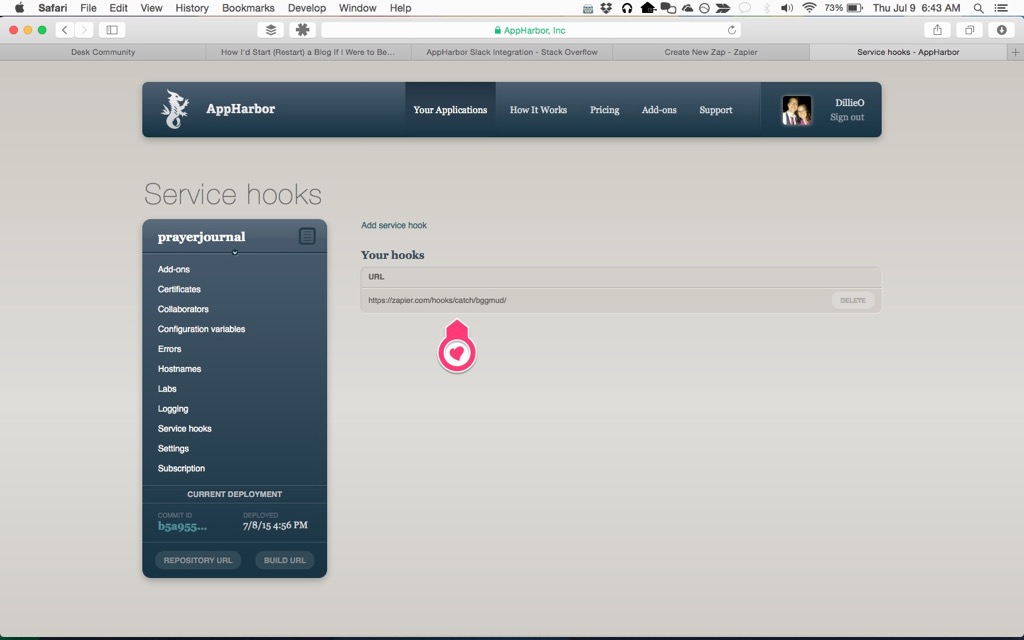
Once you click the “next” button, you’ll be given the webhook URL that Zapier will listen to. Copy that URL. Now log into AppHarbor and select your application. On the side menu is a “Service Hooks” section. Click the “Add Service Hook” link and paste in the URL you have. Click the “Create Service Hook” button. When all is said and done, your screen should look something like this.
Once this is complete, you can go back to Zapier and click the “Continue” button.
Configure Slack Channel Options
In the next section, you’ll be asked to connect to a Slack account. Once you’ve logged in and authorized Zapier, your account will be in the drop down list. Make sure it is selcted and click “Continue."
For the “Filter” section, we want to catch all events by our Web/Service Hook, so we’ll simply click the “Continue” button to move forward.
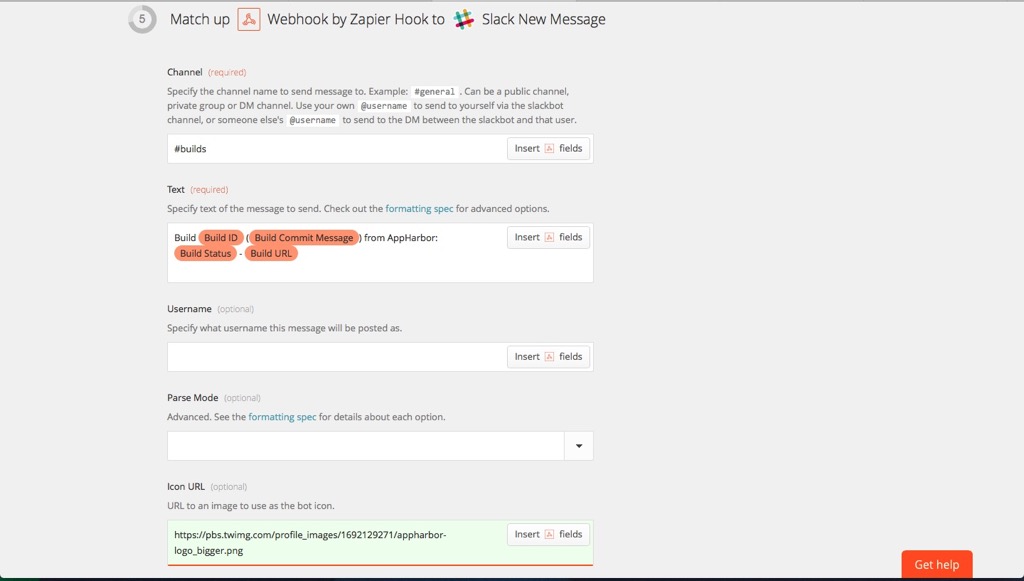
The next section outlines what channel and what message to publish to the channel. Since I’ve already created a build channel, I’m simply going to add #builds to this field.
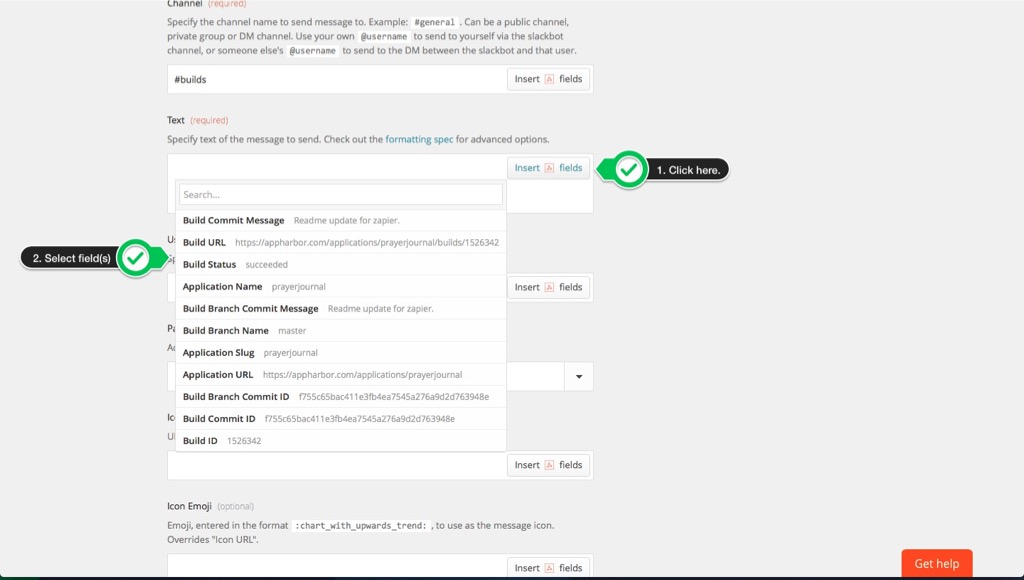
The message is where the real magic occurs. The Zapier webhook will look at a recent action to provide these fields, so we need to push some code to our repository really quick to get that. I simply modified a readme file and pushed it up to my repostitory. Once that is done, you can click on the “Insert Fields” button to get a list of fields available.
By doing this, I decided to craft my message as
Build {Build ID} ({Build Commit Message}) from AppHarbor: {Build Status} - {Build URL}
I like to have the commit message in there as reference point for the code. I use the Build URL as well so that if the build fails, I can click the link to get the report of what went wrong.
The rest of the fields here are optional. I did track down an AppHarbor icon online and added it just for some added “cool factor” in my slack channel. Here’s what my final settings look like:
Scroll down to the bottom and click the “Continue” button.
Test the Workflow
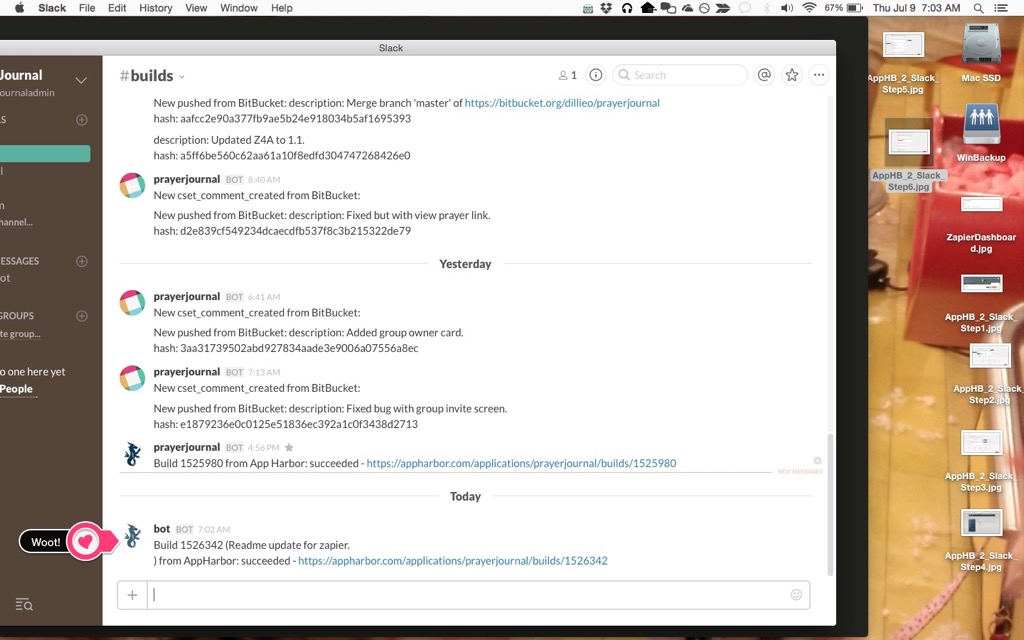
Now we get to click the “Test” button to have some sample data passed through. Go ahead and click on it. If you’re running Slack, you’ll see your message:
Finish Things Up
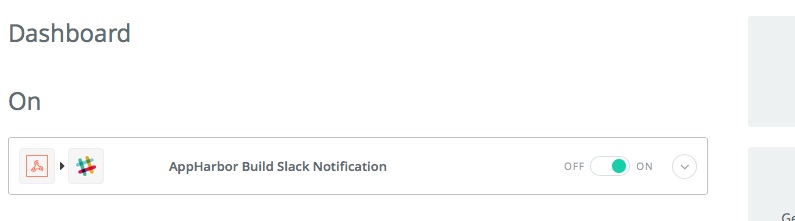
Finally, click the “Continue” button and give your Zap a name. I named mine “AppHarbor Build Slack Notification” and clicked the “Turn On” button. Once that’s done, you’ll see the zap on your dashboard and you can turn it on and off at will.
There you have it! Get your AppHarbor build messages over in your Slack channel with little hassle and save a lot of time!
Hope this helps!