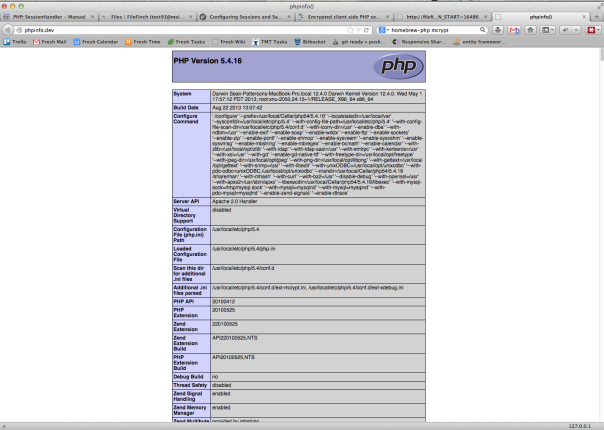
Lately I've been doing a lot of PHP reconfigurations. I'm upgrading versions, adding/removing features, and checking whether or not XDebug was installed. The standard technique is to modify a page on your site to include the phpinfo() command to get your details, but I decided to do something a little more convenient and permanent. I decided to create my own website for PHP Info!
Instead of having to add a page/snippet and then remove it later on, I created a single page with my PHP Info call and then mapped it to a domain name in my hosts file. That way I always have the PHP info I need in a second. This is incredibly simple to accomplish.
1. Create Your Info File
Fire up your favorite text editor (Mine is currently Sublime) and add one single line of code:
<?php phpinfo(); ?>
That's the standard line that will spit out your PHP configuration in a HTML friendly format. Save this in it's own folder as index.php. For me, I created a "/Users/DillieO/Projects/phpinfo" folder and saved it there.
2. Update Apache Virtual Hosts File
I'm not exactly sure where your apache configuration files are. For me, they reside in the /private/etc/apache2/extra folder. You may need to execute a "locate" command at the command prompt to find yours. Open up the httpd-vhosts.conf file and add the following lines:
<VirtualHost \*:80> # This server name must also be added to /private/etc/hosts DocumentRoot "/Users/DillieO/Projects/phpinfo" ServerName phpinfo.dev </VirtualHost>

<Directory "/Users/DillieO/Projects/phpinfo"> Options Indexes FollowSymLinks MultiViews AllowOverride All Order allow,deny Allow from all </Directory>
See what we did there? We mapped a convenient URL (phpinfo.dev) to our folder. Note that you'll need to map the absolute path to your project folder here. Save this file (you'll be prompted for your admin password) and we're off to the next file.
3. Update your Hosts File
The next step is to update our hosts file so that when we attempt to resolve phpinfo.dev, we get a local resolution, and not try to actually go out to the internet to find the file. Again, the location may vary, but for me, I open up the hosts file in the /private/etc folder and add the following line:
127.0.0.1 phpinfo.dev
Save this file (again you may be prompted for your admin password) and there's one last step.
4. Restart Apache and View the Site.
We need Apache to refresh itself with the new virtual host, so restart it with the following command:
sudo apachectl restart
This will prompt you for the admin password, you can't do it any other way.
Once complete, fire up your web browser and navigate to http://phpinfo.dev and voila! You're PHP settings are right there, nice and easy to view at any time.
This has already saved me several minutes (and random git status updates that think my files have changed) and it's always available, even if I want to peek at all the random things available.
Enjoy!